

Written by Senior Applications Engineer, Ben MacDonald
Do looks really matter in injection mold part design?
Aesthetics are everything. Aesthetics can make or break the success of a product no matter how transformative that product really is. This sentiment is especially true in the consumer goods market segment. More than ever consumers are making purchasing decisions based on how good a product looks as there are typically multiple substitutes with the same functionality. Aesthetics describe a wide range of characteristics including: shape, color, texture, and more. For every product that we purchase, designers spend countless hours making sure that each one of these characteristics are optimized so that their product will be a hit, paying especially close attention to the texture of a part. Texture is crucial to making a product look premium, rugged, or unique. In the injection molding world the king of all textures is gloss. Gloss is a term used to describe how polished a surface is. The higher the gloss the more polished a surface is.
In additive manufacturing, glossy parts are hard to come by. It is no secret that each additive technology has its own inherent surface finish that varies from printer to printer, from material to material, and even from print profile to print profile. These surface finishes vary greatly from basic FDM parts to high end SLA/DLP parts but none of them come close to what is needed when a mold designer specifies a glossy SPI A2 finish.
The not so secret to glossy surface finish: mold polishing
Fortify heard that challenge and got to work. While molds printed on the FLUX ONE 3d printer have very smooth surface finishes to start, they too do not meet the requirement some mold designers are hoping to get out of additive tooling. With a little intrigue and a lot of hard work we can now confidently say “yes” when someone says they need parts with a glossy finish.
Polishing isn’t some secret process; it has been a common finishing method forever. With a huge existing knowledge base, it was easy to know where to start. In a nutshell, polishing is the action of reducing the roughness of a given surface. It is most commonly done with a mechanical medium like sandpaper or a particle-filled compound. In injection molding, polishing is typically done for two main reasons: part aesthetics and part function. The aesthetic aspect is pretty straightforward, smoother shinier parts tend to look A LOT better. The function is a little more nuanced. A smooth surface could be required for a number of things such as creating a liquid seal, reducing wear or friction, and optics just to name a few. Each of these different polishing applications may require a different level of polish to achieve the desired results. A few different scales have been released to provide some consistency in assigning polish level. The most common of these scales being the SPI scale that assigns a letter and number grade to different surface roughness ranges.
The process for molding polishing of 3D printed tools
The process for polishing a mold printed with Digital Tooling Resin is really no different than the process for polishing a metal tool. We progressively work from coarser grits to finer grits just as one would with a steel tool. We have found that our tools polish best when using coarse grit papers and then fine grit lapping compounds. We pair these compounds with a polishing bob attached to a dremel. This process can be stopped at any point to achieve a specific finish but carrying the process through to the end will lead to an A2 finish. The process for polishing our tools is as follows:
- Start out with a range of sandpaper, moving fairly quickly from 220 grit to 400 grit to 600 grit, making sure to only move on once marks from the previous grit are gone.
- Once finished using the 600 grit, make the switch over to lapping compounds. Starting with an 800-grit compound, quickly make a few passes over the target area applying light pressure with a polishing bob.
- After the 800 grit, repeat this process with 1200 grit, 1600 grit, and 2000 grit. As part of the grit change, make sure to swap polishing bobs. This prevents any sort of cross-contamination between compounds which can negatively impact the progression.
- Once finished with the 2000 grit, transition to a 2500-grit diamond compound. With the diamond compound make a few passes and that will land the target surface(s) well into the A2 range.
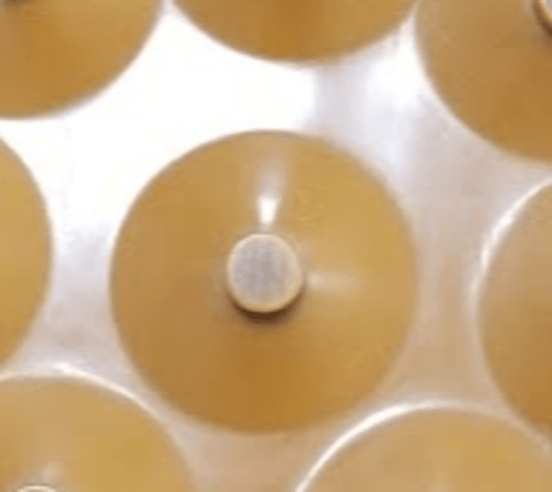
Polished A2 mold finish
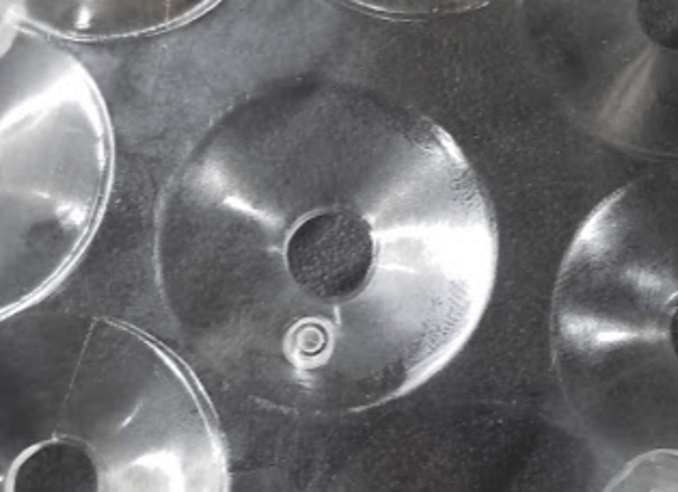
Molded A2 Surface Finish
Unlocking the full power of additive with textures
In addition to polishing, there are many other ways to alter a surface. The two most common that we come across are media blasting and applied digital textures. Media blasting is most commonly referred to as sand blasting but a variety of media can be used rather than just sand. Through our investigations we have found that media blasting is a very effective method for altering the texture of a mold. It is most effective when tolerances are slightly relaxed as that enables a more uniform texture to be applied. Our favorite textures are the digital textures, which allows multiple machining operations to be consolidated into the print step and eliminates potential errors that stem from manually applying textures.
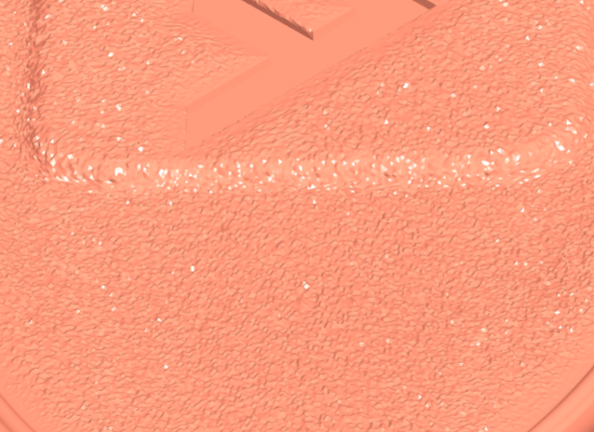
Digitally Applied Surface Texture
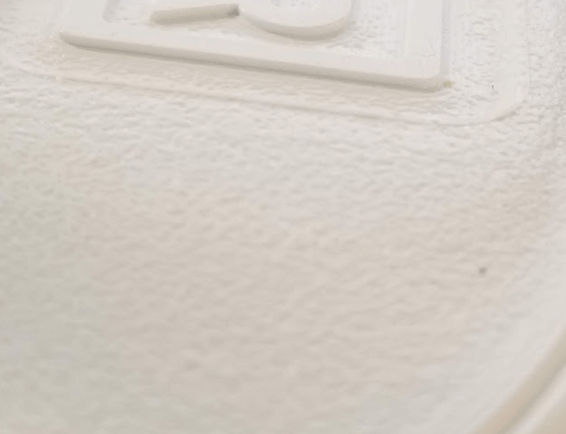
Molded Version of the Digital Texture
Whether looking to mold polished parts or some other funky texture, Fortify’s 3D printed tooling can rise up to the challenge. A little bit of work upfront can pay huge dividends toward the quality and aesthetic of your work in the long run! Be sure to check out Fortify’s LinkedIn to see all of the exciting updates in 3D-printed injection molding.
